Our Community is getting an upgrade! To get everything ready for the relaunch, we’ll be placing the site in read-only mode starting September 21st.
We really appreciate your understanding while we get things set up behind the scenes. Catch up on all the exciting details about the move here.
Need help or have questions? Drop us a line at [email protected]

Community Articles

Find and share helpful community-sourced technical articles.
Announcements
Share your experience with Cloudera on G2 and get a $25 Amazon Gift card.
Hi, I'm CLEO! Something exciting is coming to the Community. Stay Tuned!
Labels (1)
avatar
New Member

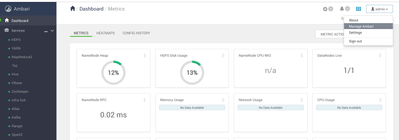
1. In your Ambari UI, click on the Manage Ambari button.

94579-screen-shot-2018-12-13-at-94239-am.png

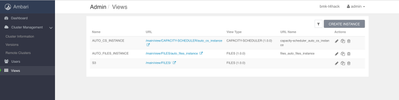
2. Then on the left of the screen, click on views.

3. Click on Create Instance on the top right of the screen.

94580-screen-shot-2018-12-13-at-94422-am.png

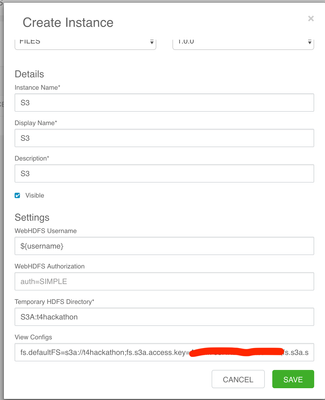
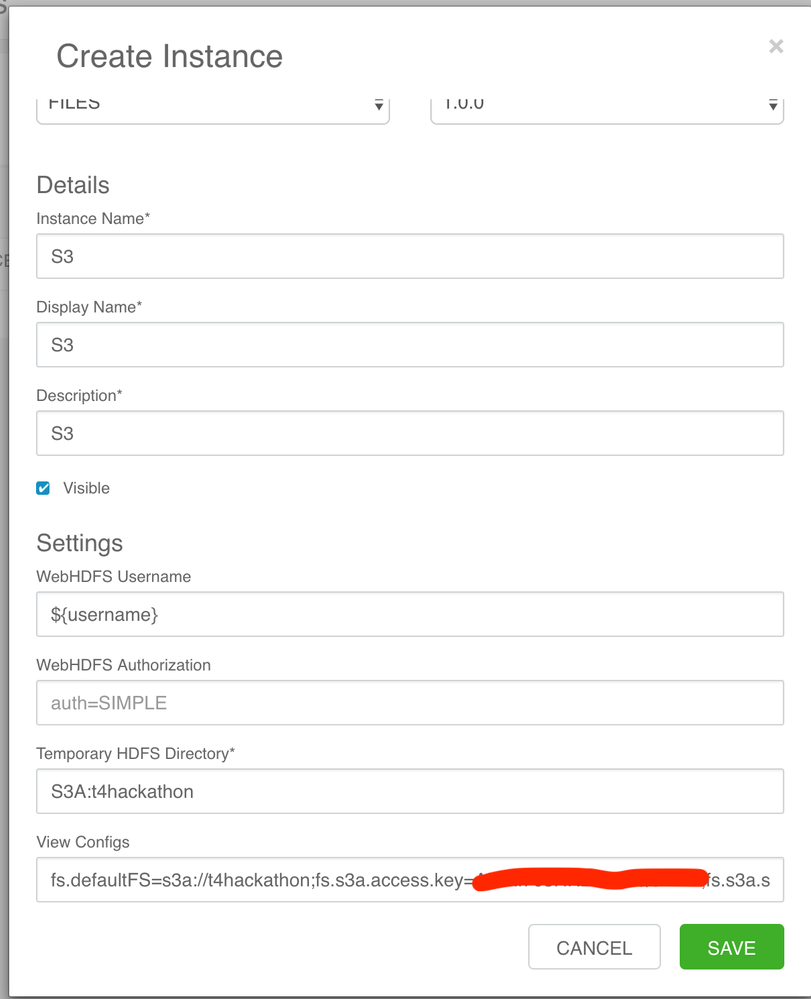
4. Fill in the boxes as shown below. For select view, choose FILES from the drop down. The blocked out field below is your personal S3 key.

94583-create-instance.png

5. Click Save

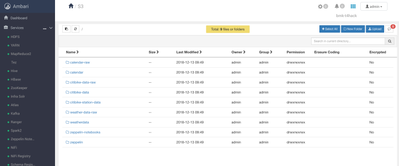
6. Once saved, you can go back to the views UI and see your new S3 view, click the URL to get through to the files view of your S3 bucket. It will look something like this example below.

94584-screen-shot-2018-12-13-at-95053-am.png

7. At this point, you can manage all of your directories and files in S3 from this Ambari view. You can delete, add or move things around with ease.


create-instance.png
865 Views
0 Kudos
Version history
Last update:
‎09-16-2022 01:44 AM
Updated by:
Contributors