Our Community is getting an upgrade! To get everything ready for the relaunch, we’ll be placing the site in read-only mode starting September 21st. We really appreciate your understanding while we get things set up behind the scenes. Catch up on all the exciting details about the move here. Need help or have questions? Drop us a line at [email protected]
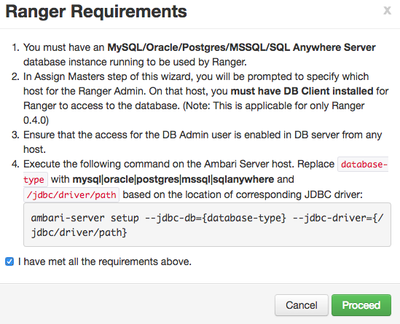
4) Choose "I have met all the requirements above." and click Proceed (this was done in #1 above)
5) Assign master(s) for "Ranger Usersync" and "Ranger Admin" and click Next
6) Assign Slaves and Clients - since we did not install Apache Atlas, Ranger TagSync is not required and click Next
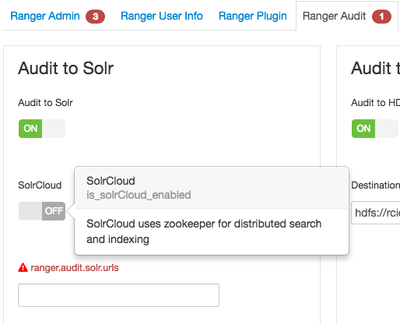
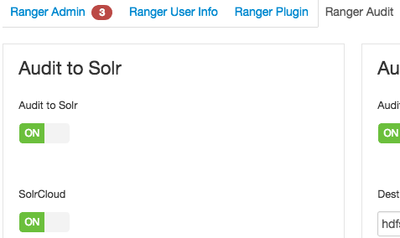
7) Customize Services -> Ranger Audit, click on "OFF" to enable SolrCloud
Before clicking:
After clicking:
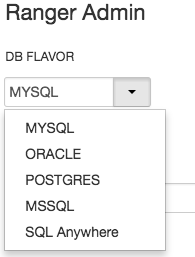
😎 Customize Services -> Ranger Admin, enter "Ranger DB host" the DB you chose (in my case, I chose MySQL) and a password "Ranger DB password" for the user rangeradmin *Ranger will automatically add the user "rangeradmin"
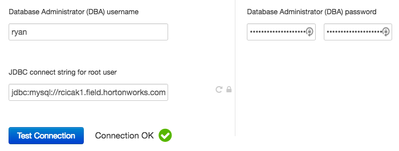
Add the proper credentials for a DB user that has administrator credentials (this administrator will create the user rangeradmin and Ranger tables)
MySQL create an administrator user *Note: rcicak2.field.hortonworks.com is the server where Ranger is being installed
CREATE USER 'ryan'@'rcicak2.field.hortonworks.com' IDENTIFIED BY 'lebronjamesisawesome';
GRANT ALL PRIVILEGES ON *.* TO 'ryan'@'rcicak2.field.hortonworks.com' WITH GRANT OPTION;
Click Next
9) Review -> Click Deploy
* Install, Start and Test will show you the progess of Ranger installing
10) Choose Ranger in Ambari
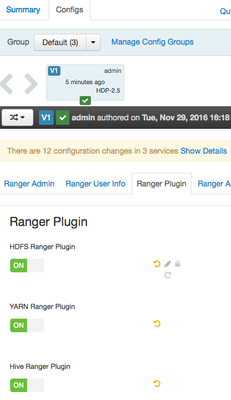
11) Choose "Configs" and "Ranger Plugin" and select the services you'd like Ranger to authorize (You'll need to restart the service after saving changes)