Our Community is getting an upgrade! To get everything ready for the relaunch, we’ll be placing the site in read-only mode starting September 21st.
We really appreciate your understanding while we get things set up behind the scenes. Catch up on all the exciting details about the move here.
Need help or have questions? Drop us a line at [email protected]

Community Articles

Find and share helpful community-sourced technical articles.
Announcements
Share your experience with Cloudera on G2 and get a $25 Amazon Gift card.
Hi, I'm CLEO! Something exciting is coming to the Community. Stay Tuned!

avatar
Master Guru

Using Deployed Models as a Function as a Service

104409-dataengineering.png 104410-datascience.png 104431-flowmanagement.png

Using Cloudera Data Science Workbench with Apache NiFi we can easily call functions within our deployed models from Apache NiFi as part of flows. I am working against CDSW on HDP (https://www.cloudera.com/documentation/data-science-workbench/latest/topics/cdsw_hdp.html), but it will work for all CDSW regardless of install type.

In my simple example, I built a Python model that uses TextBlob to run sentiment against a passed in sentence. It returns Sentiment Polarity and Subjectivity which we can immediately act upon in our flow.

CDSW is extremely easy to work with and I was up and running in a few minutes. For my model, I created a python 3 script and a shell script for install details. Both of these artifacts are available here: https://github.com/tspannhw/nifi-cdsw

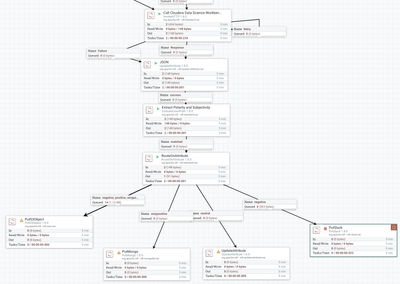
My Apache NiFi 1.8 flow is here (I use no custom processors): cdsw-twitter-sentiment.xml

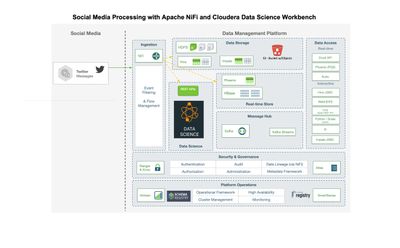
104433-socialmediacdswarch.jpg

Deploying a Machine Learning Model as a REST Service

104419-installtextblobcorpora.png

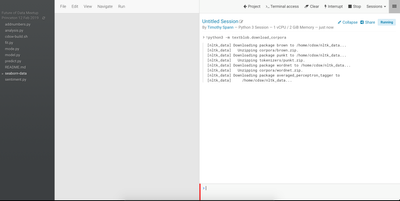
Once you login to CDSW and create a project or choose an existing one (https://www.cloudera.com/documentation/data-science-workbench/latest/topics/cdsw_projects.html). From your project, open workbench and you can install some libraries and test some Python. I am using a Python 3 session to download the TextBlob/NLTK Corpora for NLP.

104425-buildamodel.png

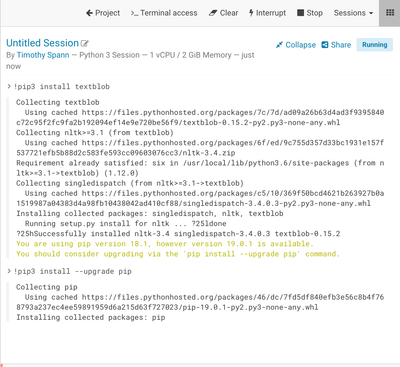
Let's Pip Install some libraries for testing

104427-pipinstalltextblob.png

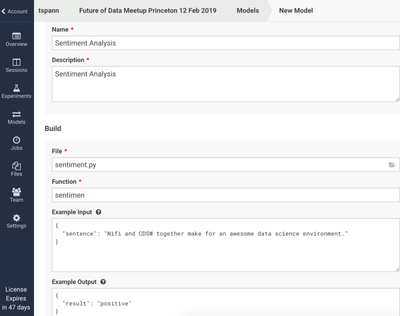
Let's Create a new Model

104426-modeldeploy1.png

You choose your file (mine is sentiment.py see github). The function name is actually sentiment. Notice a typo I had to rebuild this and deploy. You setup an example input (sentence is the input parameter name) and an example output. Input and output will be JSON since this is a REST API.

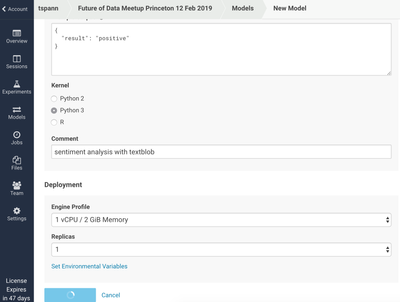
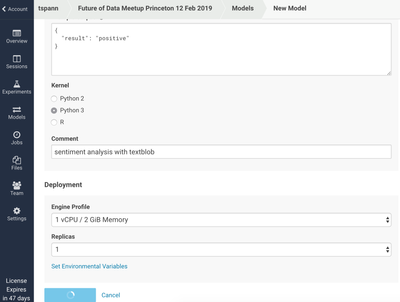
Let's Deploy It (Python 3)

104428-modeldeploy2.png

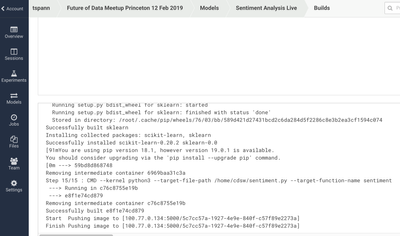
The deploy will build it for deployment.

104428-modeldeploy2.png

We can see standard output, standard error, status, # of REST calls received and success.

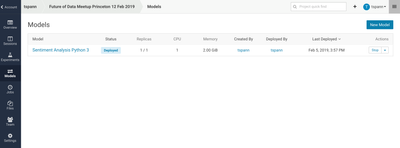
Once a Model is Deployed We Can Control It

104424-cdswmodels.png

We can stop it, rebuild it or replace the files if need be. I had to update things a few times. The amount of resources used for the model rest hosting if your choice from a drop down. Since I am doing something small I picked the smallest model with only 1 virtual CPU and 2 GB of RAM. All of this is running in Docker on Kubernetes!

Once Deployed, It's Ready To Test and Use From Apache NiFi

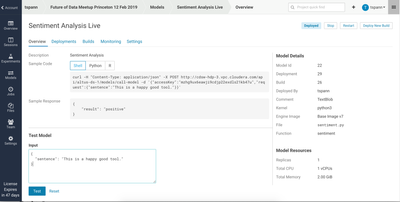
104430-sentimentanalysismodeloverview.png

Just click test. See the JSON results and we can now call it from an Apache NiFi flow.

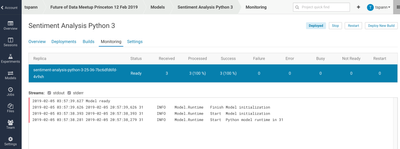
Once Deployed We Can Monitor The Model


104422-cdswmonitoring.png

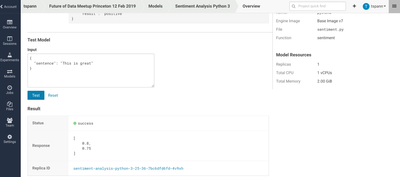
Let's Run the Test

104420-cdswsentimentmodeltesting.png

See the status and response!

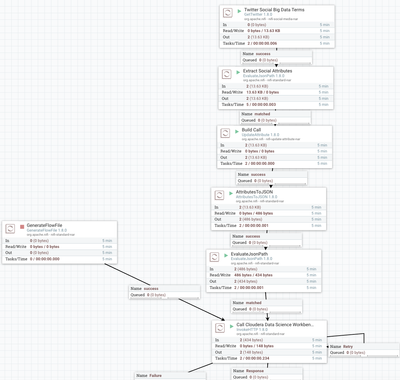
Apache NiFi Example Flow

104404-cdswflow1.png

104405-cdswflow2.png

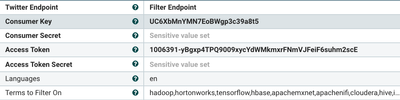
Step 1: Call Twitter

104407-gettwitterfeed.png

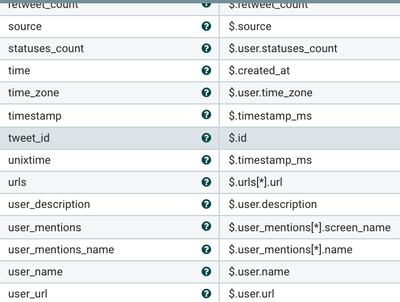
Step 2: Extract Social Attributes of Interest

104411-parsetwitter.png

Step 3: Build our web call with our access key and function parameter

104412-buildcdswcall.png

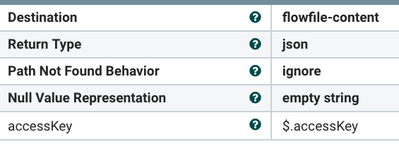
Step 4: Extract our string as a flow file to send to the HTTP Post

104413-extractaccesskey2.png

104414-extractaccesskey.png

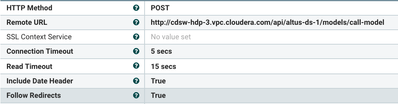
Step 5: Call Our Cloudera Data Science Workbench REST API (see tester).

104415-posttocdsw.png

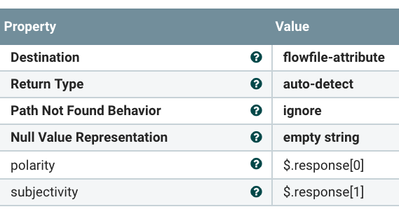
Step 6: Extract the two result values.

104416-parsingresultfromcdsw.png

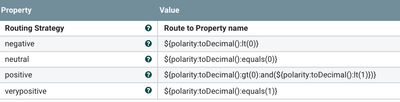
Step 7: Let's route on the sentiment

104417-routingsentimentpolarity.png

We can have negative (<0), neutral (0), positive (>0) and very positive (1) polarity of the sentiment. See TextBlob for more information on how this works.

Step 8: Send bad sentiment to a slack channel for human analysis.

104406-putslack.png

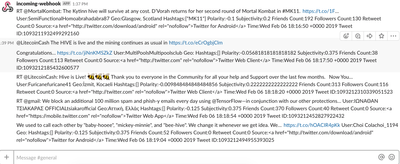
We send all the related information to a slack channel including the message.

Example Message Sent to Slack

104434-slackmsg.png

Step 9: Store all the results (or some) in either Phoenix/HBase, Hive LLAP, Impala, Kudu or HDFS.

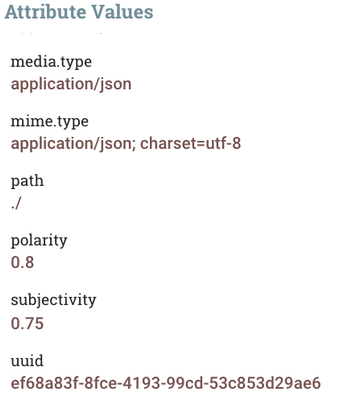
Results as Attributes

104423-polarityreturned.png


Slack Message Call
${msg:append(" User:"):append(${user_name}):append(${handle}):append(" Geo:"):append(${coordinates}):append(${geo}):append(${location}):append(${place}):append(" Hashtags:"):append(${hashtags}):append(" Polarity:"):append(${polarity}):append(" Subjectivity:"):append(${subjectivity}):append(" Friends Count:"):append(${friends_count}):append(" Followers Count:"):append(${followers_count}):append(" Retweet Count:"):append(${retweet_count}):append(" Source:"):append(${source}):append(" Time:"):append(${time}):append(" Tweet ID:"):append(${tweet_id})}

REST CALL to Model
{"accessKey":"from your workbench","request":{"sentence":"${msg:replaceAll('\"', ''):replaceAll('\n','')}"}}


Resources


parsingresultfromcdsw.pngclouderasession.png
4,764 Views